Why have old tires cluttering up the garage when you can turn them into something your child can play on, or a piece of art for your yard. We have all seen a tire swing, but how about a tire see-saw or a tire tower. You can make a whole tire playground if you want. There are tire planters and tire tables and even tire dog beds.

If you love crafts and DIY projects then this post has some great and useful info on how to create both the fanciful and the practical form old tires.
Tire Playground
A great way to introduce younger children to a more physical form of play is to build a playground from used tires. Commonly used in playgrounds around the world because of their versatility and availability, tires can be found almost anywhere- at the junkyard, used tire lots, auto-garages, and even industrial lots, or bicycle stores. There are so many reasons to choose tires as your building material. Here are just a few of them:
- They are usually available for little to no money.
- They are very durable.
- They wont rust or get eaten by bugs.
- Tires don’t get as hot as metal play structures, especially when painted
- It does’t hurt as much to fall on them
- Tires are easy to build with
- It’s one less tire for a landfill
Do you have these seven items? Nuts and bolts, a drill, a shovel, a knife, some wood and some paint. Yes. Then you have everything you need to build an awesome playground.
It is very important when building with tires, for the children’s safety, that no steel show through. If it does, either discard that tire, use it for a different project or bury that part underground. Don’t try to sand the tire down, it won’t work.
To prepare the tires you will need to wash them thoroughly with soap and water to remove dirt and grease. If you have a power washer use it for best results. You can also take the tires to a self service car wash and use their power washer.
Once the tires are clean, let them dry completely. You can then prime and paint them if desired. Use a high quality oil based paint, or a very good weather proof spray paint. Then your imagination is the limit.
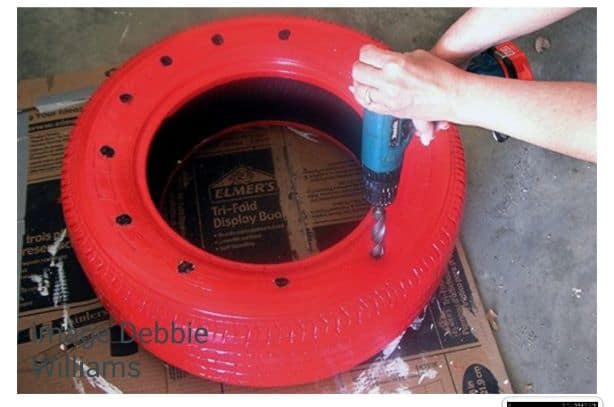
Important Note You must make drainage holes in the lowest point of each tire to prevent standing water which can become a breeding ground for mosquitoes. Once you determine how a particular tire is to be used, make the holes before you begin building.
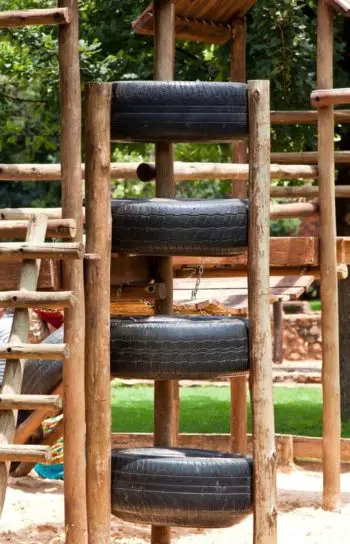
You can build a tire tower for climbing and jumping.
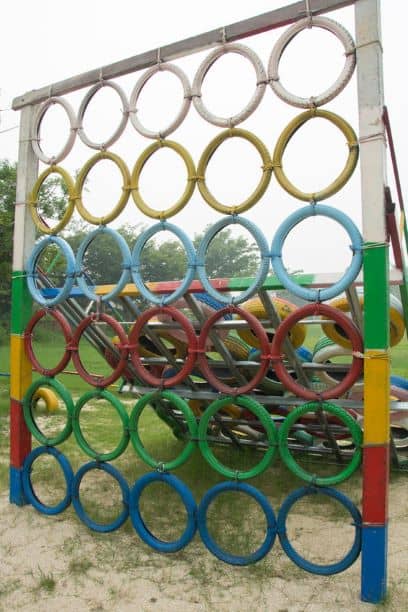
Bicycle tires were used to make this a formidable climbing wall.
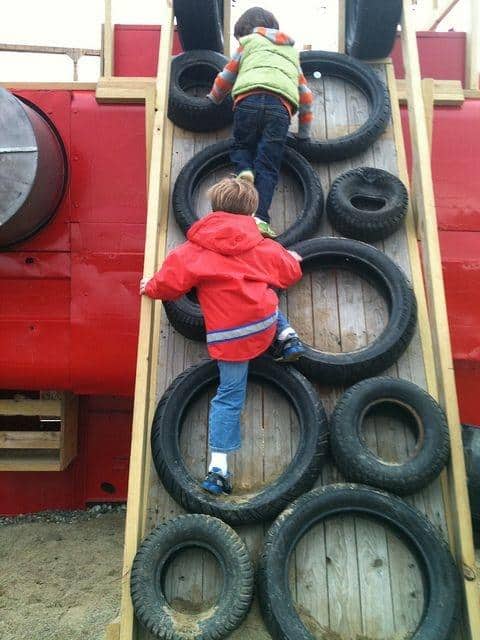
This climbing wall was made challenging by using different sized tires.
You can partially bury and line tires up in a row for kids to walk across like a balance beam or jump from one to another like stepping stones. Kids can use larger tires for foot drills and some people even flip heavier tires to build strength.
Tire swings are still hugely popular. People get so creative with them now.


Ehow has a great tutorial on how to make a cool tire swing, and I have simple and easy to follow instructions on how to make a see-saw, a balance beam and a tire climber to round out your tire playground.
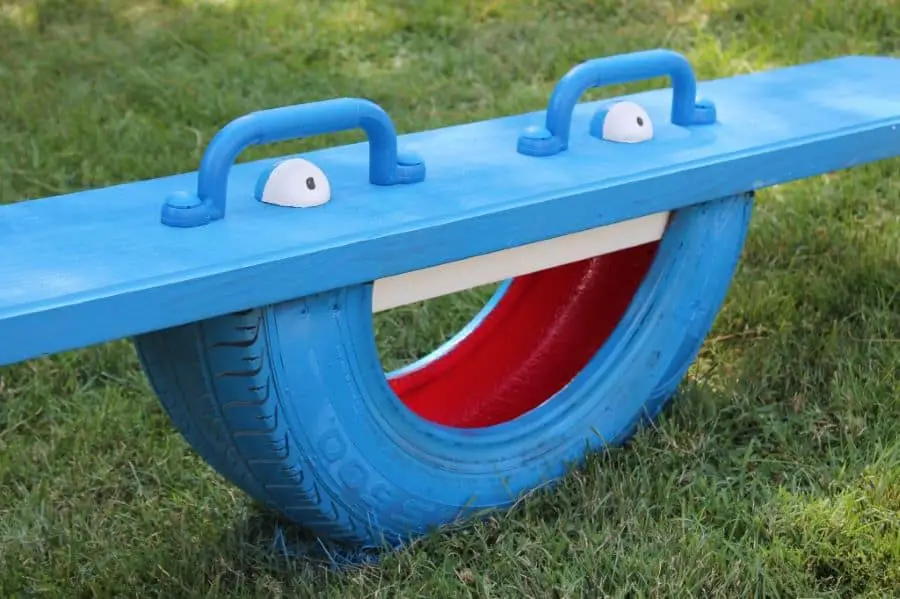
See-Saw
Begin by sawing the tire in half using a reciprocating saw with a metal blade. You can use a hacksaw if you like but it is a lot harder to do that way.
I recommend painting all the individual pieces before you begin assembly. Don’t forget to paint the inside of the tire.
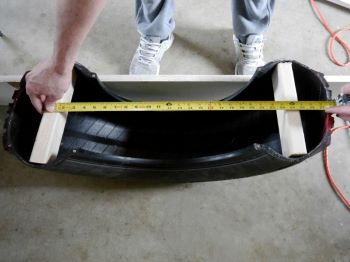
Next cut wooden blocks to fit in the ends, or a piece of wood to run length ways through the center of the tire as in the above picture, and secure them with screws.
To make the seat you need to cut a wooden board to the desired length and screw it to the wooden blocks. Attach handles and your set.
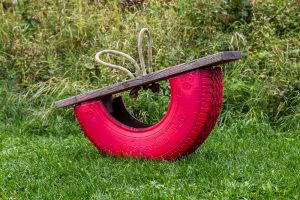
Here is a cute design using a rustic rope handle.
Image Maggiesmilk.com
Balance Beam
There are quite a few different ways to make balance beams as well.
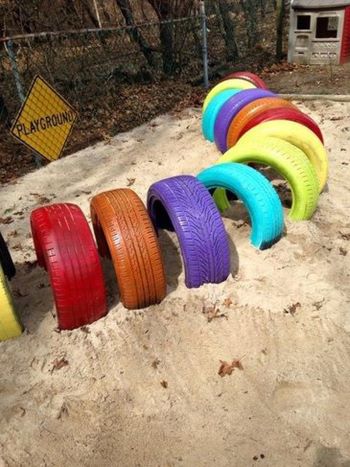
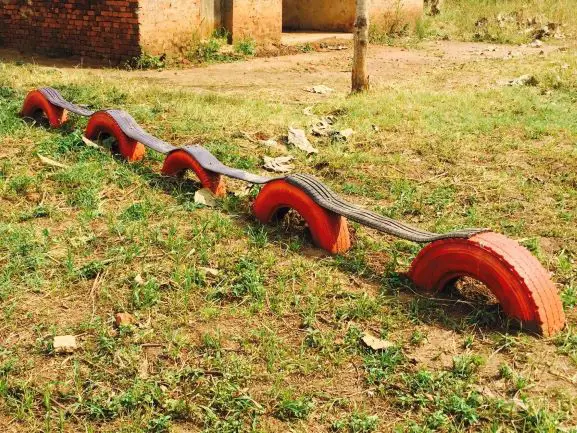


While not exactly a beam, it does serve the same purpose as a regular wooden beam. I don’t even know if this counts as instructions because of how easy it is to do. You simply stand the tires on end and dig a hole to bury half the tire, leaving the colorful painted half above ground. Fill the part that is in the ground back up with dirt to hold it securely in place. Position several tires in a row or in a wavy design and that’s it. 1001pallets.com has instructions on how to make the awesome suspension bridge shown in the above photo.
Climber

The tires in the above photo are cleaned and prepared in the same way as previously mentioned, then attached using bolts and washers. Place a connecting bolt and washer at each point where one tire touches another. Fill the bottom row of tires with dirt to keep the climber securely in place. If you are going for a larger climber or just want added security, fill the inside circumference of the tires on the bottom row with roughly two inches of cement.
Other Cool Stuff
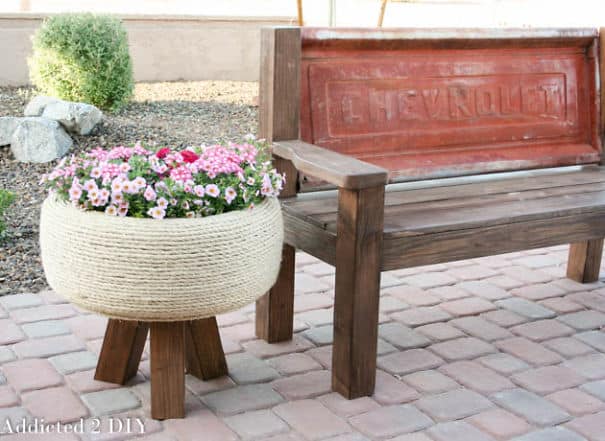

It’s amazing how a tire can be completely transformed. I love how expensive the rope planter and ottoman look. Who would ever know there is a tire under there? And a pond, that’s a fantastic and imaginative way to repurpose an old tractor tire. Salvaging the tire also saves you the cost of a pond liner.
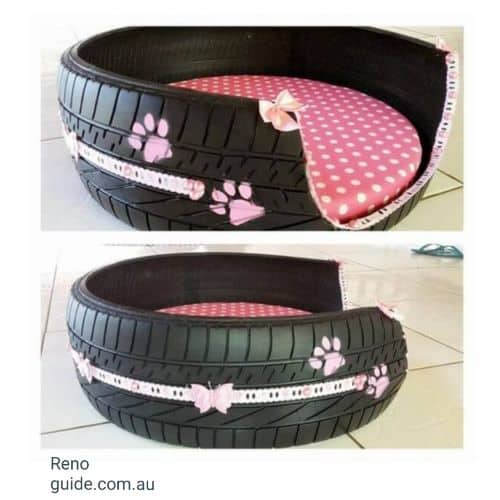
A dog bed is another great idea. You can make one in a few different ways. Painting a tire and placing a cushion into it is the simplest way I’ve seen. In the photo above, a cut-out was made for the dog to get in and out easily and a wooden base was cut to fit and covered in padding, then attached to the bottom. The best thing about using a heavy truck tire is Fido is most likely not dragging his bed around the yard.
Ottoman
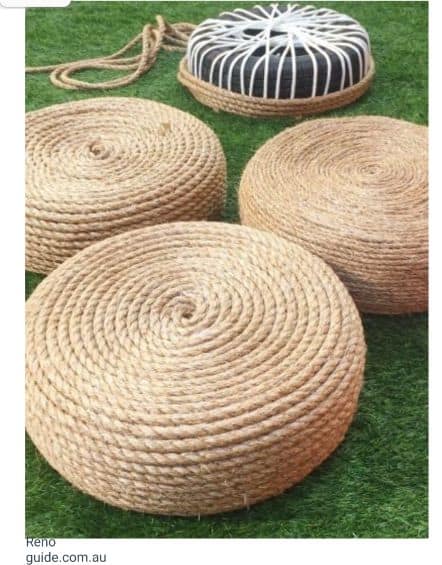
Making the Rope Ottoman is not as difficult as you may think. The hardest part is getting the two pieces of wood cut into circles. I’m not personally proficient with power tools so whenever I need something like that done, I go to my local Home Depot with the measurements and some nice young man cuts it for me.
The Items you will need for this project are:
- Cleaned tire
- Liquid sealant
- Paint Brush
- 2 pieces of wood cut into circles
- Sisal rope
- Screws and screw driver
- Glue gun
- Drill
Lay the tire flat and secure the wood to it by drilling three holes in the tire first then attaching the wood with the screws. Turn the tire over and repeat on the other side.
Starting in the center of the wood circle, secure one end of the rope to the wood with the glue gun. Then coil the rope around in circles gluing each coil and waiting for it to be secure before beginning the next circle. Once the top is complete, work your way down the sides of the tire covering all of the rubber. When that is complete flip the tire and continue from the center again, or leave the wood bare since you wont see this side anyway. Try to make sure all areas where new sections of rope begin are as seamless as possible and the circles fit snugly together.
Once the rope is fully in place you can paint on the sealant. Do two coats, waiting for the first coat to dry before applying the second one.
Note: If you don’t want to use wood, you can wrap the entire tire with nylon rope in a crisscross pattern to make a cover over the open sides of the tire and then tie the rope to itself to hold it securely in place. You now have a somewhat solid surface to begin gluing the rope to.
This ottoman can be turned into a table with a few additions. First add legs to one of the circles, and then attach the wood to the tire in the same method. For the other piece of wood, you can stain it or paint it, then attach it to the tire to create a wooden tabletop. Use decorative screws for a more finished look. You could also just do the same rope coil for a rope tabletop.
The planter is made the same way as the table with the exception of the second wood circle. You would need to add a drain hole in the piece of wood and place a plastic planter tray liner inside the tire. Complete the planter by filling it with potting soil and your choice of plants.
Don’t just stop at car and truck tires. There are fantastic things to be made from other tires as well. You can use dirt bike or bicycle tires to make a pretty mirror or a hanging planter.


And just so no tire is left un-loved, don’t forget about these babies. Consider using the tire from that old wheelbarrow to make a table top planter. You can use tires from the kids bikes to make several smaller hanging planters for an herb garden.
If it has a tire, you can make something beautiful out of it.

