Why Create a Mound
- Encourages Creative Play
- Adds Visual Appeal
- Creates Diverse Play Options
- Play Equipment can Be Embedded
- Helps Build Crucial Sensory and Motor Skills
Now that I gave you the fancy answers. The real answer is, that mounds are just plain fun. You can roll down them and climb on them. You can jump off them or dig in them. With the addition of a mound, or two, in the play area, you can create a different and unique play experience that traditional playground equipment can’t provide.
But, what if you have a flat backyard? No worries, building a mound is not as hard as you may think. In this post, I’ll not only cover how to make a mound but give great examples of why you absolutely must have one.
Help us Earn, visit our sponsor and learn how to build your own Shipping Container Home.
How to Build a Mound
Whether you are looking to make a small mound for cars and trucks to drive over or something larger for the kids to jump off of, the process is about the same. For this post, we are going to concentrate on small mounds. I am a homeowner, mother, and grandmother, and I have built small hills and mounds in my own backyard for my little ones. I am not a landscape design professional, so I will not be advising on how to make larger hills that require a retaining wall. I like to stick to what I know. Safety first.
Depending on what your mound is for, you can purchase fill from a landscape supply company or dig dirt from another location in your yard.
Step 1: Lay out the shape of the Mound.
I have several differently shaped mounds in my backyard. I stick with round, oval and kidney-shaped. I’ve always used string to mark the border, but I read recently about using a garden hose. I will try that next time.
You want to keep around a 5:1 ratio for best drainage. So, if you are looking to go one foot high you want the base to be five feet wide with a roughly 2-foot wide peak. I have made a higher mound with a smaller base, they just take a little more time to get the way I want them. I’m not usually worried about erosion and drainage.
You can then use dirt or flour to follow the pattern you created with your string. Remove the string and get ready to dig.
Step 2: Prepare the ground
If you are making the mound on the lawn, you want to dig out the grass and about 2 inches of top soil. Start your removal from the outside to the inside.
Step 3: Start building
You want to build up your mound layer by layer from the inside to the outside. In small batches start dumping your dirt in the center. Tamp down the soil using a tamping tool. You can use a flat edge shovel but it’s so much easier with the tamping tool. Work your way up and out, paying careful attention to your slope. When you have reached the desired height spray the mound with a hose to remove any air pockets. You can now apply grass seed.
Helpful Hint: For bigger mounds, I usually let the dirt dry, then shape it some more. I repeat the process until I’m happy with the shape and size.
How to use a Mound
Place a climbing wall on one side and a slide on the other. You can even build steps with wood, and rocks, or repurpose some old tires.
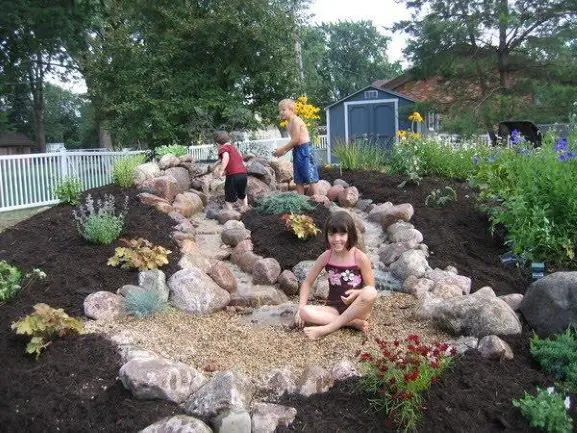
Adding rocks and plants can create a diverse natural play-scape. The mulch is great for drainage.
Image Tavernierspa
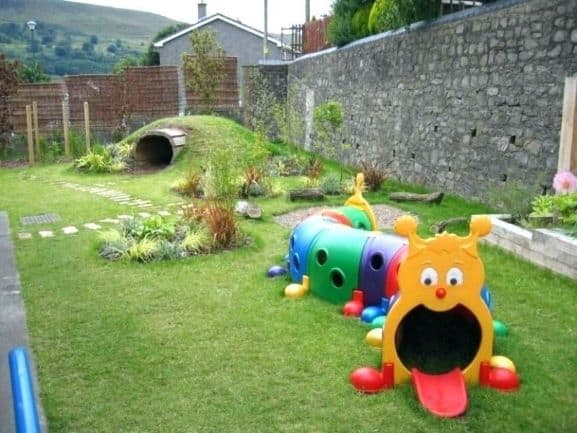
Using the same building principle I described, you can make a mound over a tunnel.
Image Campervibe.info
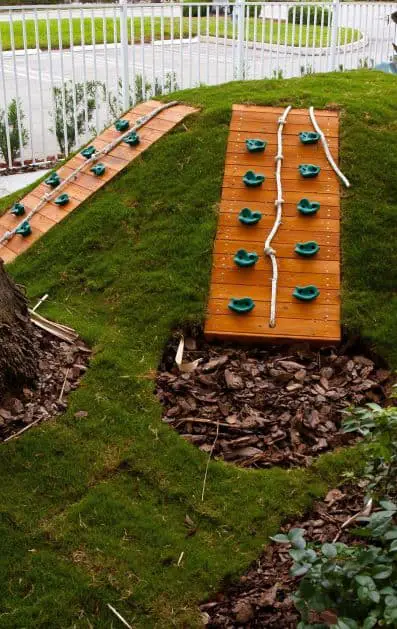
You can embed a balance beam in two mounds. You can use a high-density foam base to set the beam on, then build the mound around it.
Image Fawns playground equipment
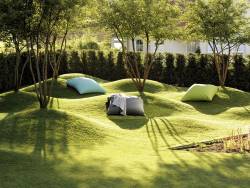
Add visual appeal with these gently sloping hills. What a wonderful place to relax.
Image Gartendesignfeir.net
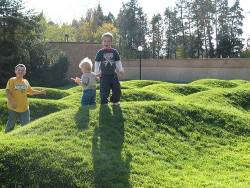
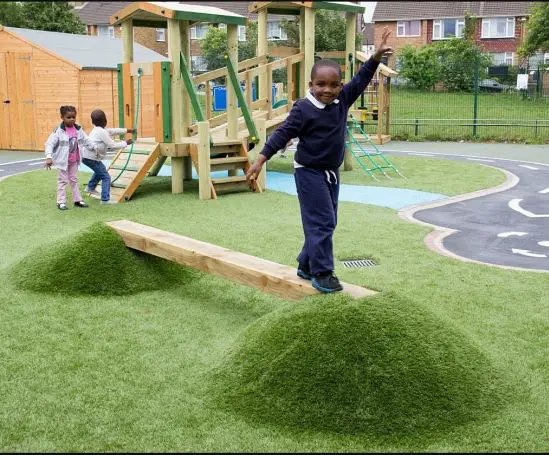
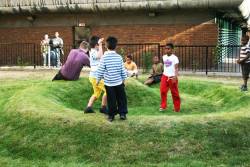
Create several mounds close together for more challenging and exciting play area. The kids will love to play on them.
Image Myobsuredcamera Flickr
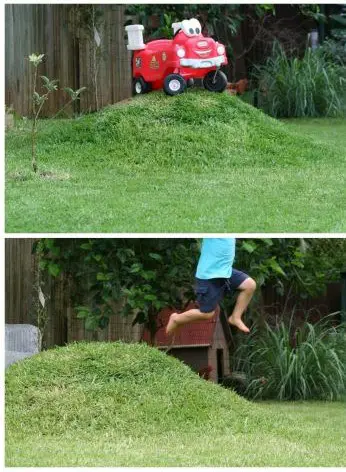
This size mound is perfect for jumping and rolling down. And a great place to park the car.
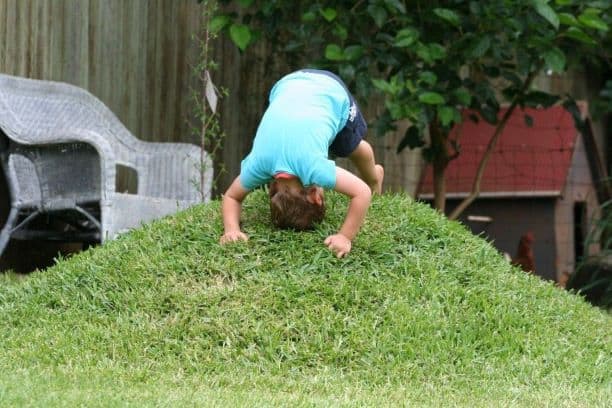
Image davidhowell.com.au
Be as creative as you would like. Make a swirl or circle with a hole in the center.
Image Thisfoxymama
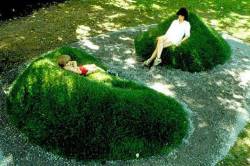
How about a sod sofa? These are rather large. You can always scale down for the backyard.
Image Homedit.com
As you can see every home needs a mound in the backyard. They are great for active play, like running, and jumping, and great for passive play, like sitting on or just relaxing on a sunny day.
Beginner mound builders will want to start with a simple round mound, I wouldn’t go right to a spiral or sofa.
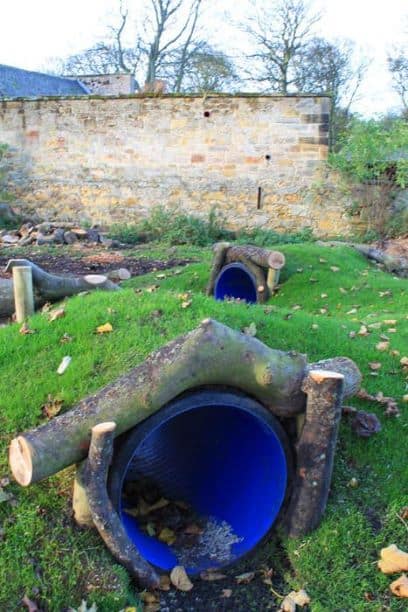
When you do create a tunnel, please make sure your tunnel material is sturdy enough to hold the weight of the dirt and kids that will be on top of it. You can build a wood structure around the tunnel for added structural support.
Combining manufactured and natural play elements in the play area will allow you to create a playground that your children will find interesting, entertaining, and challenging for years to come. Have fun creating and using backyard mounds in your design. I hope you found this post informative.